

This is my biggest re-furb project to date and definitely the most involved. Usually with my furniture projects there is no pressure. If it works out awesome, if not, I just get rid of it. I’ve only worked on pieces that were almost out the door anyways. Here are some before pictures.
(A few notes about this set. It was sold by Ashley Furniture about 8-10 years ago, it has some solid wood and some composite. The top showed the most wear, as you can see below. The composite and laminate did not cause any problems with this project.)


I have hated this dining set for almost 4 years. Ever since we had our dark cherry floors installed this stuff has been driving me nuts. It looks like the floor just sprouted up wood babies. The husband and I have shopped new dining sets but, I find dropping a couple grand on a table and chairs hard to swallow right now. I find new furniture in general hard to swallow right now. With small kids and pets, I don’t want to be one of those “don’t sit on my furniture” or “plastic cover” people.

I don’t know this lady, but God bless her, this pic has me dying.
Anyways, this project was actually very easy. It took me a long time to complete because I was working with some new elements. I’ve never used chalk paint before and oil based paints make me nervous. Needless to say, I took my time and did a lot of research.

I started with the leaf of the table we have never used before. That way I could still abandon ship.
I used my new hand sander to scuff all the smooth areas.

I then applied a rough coat of primer. (Does not need to be perfect)


scuff sanded primer
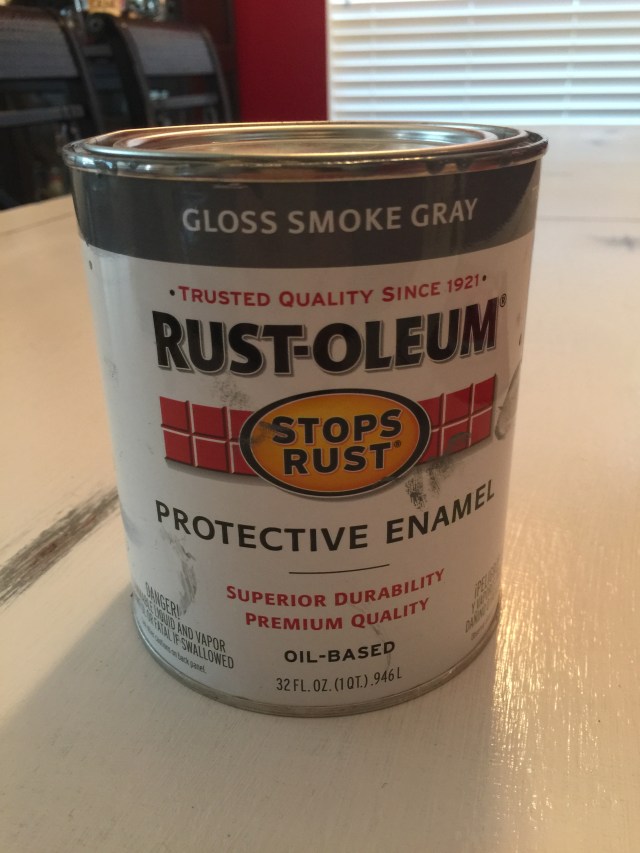
I used an oil based paint in gloss smoke gray for the under color. This coat took more time because I wanted a full coverage.
After the gray was completely dry. About 24 hours later, I started the chalk paint. Chalk paint is thick and gross. I used a little water to thin it down. Some people like to use a foam roller on larger pieces. I wanted brush strokes to give the effect of being painted several times. The chalk paint took about 3 coats. I could have gotten away with 2 but I wanted to be sure it was totally covered.
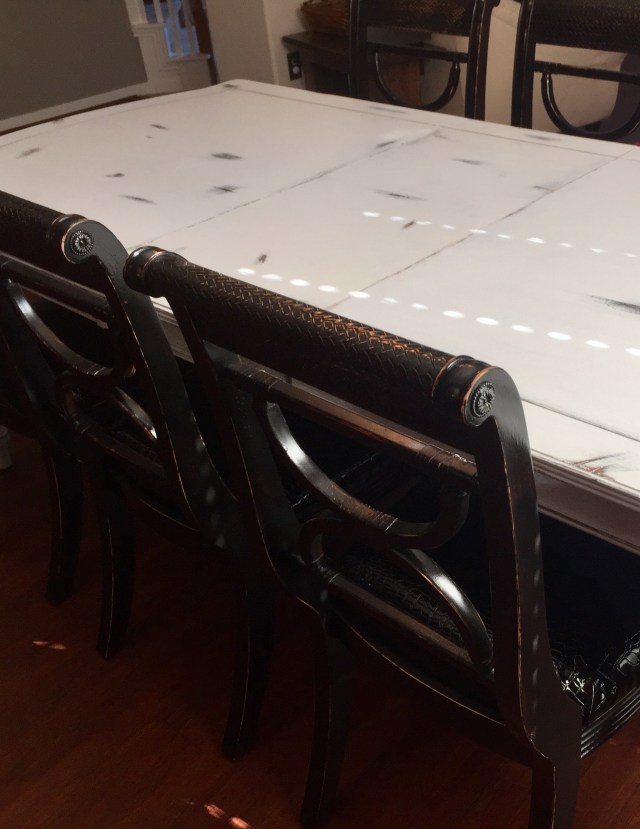
I let the chalk paint dry for 24 hours as well. Now the fun part. Distressing!!!! I used 100 grit sand paper by hand, so I could control the pressure better. If you’ve never distressed before start with the edges. Think of natural places furniture gets bumped and bruised. Some places I only sanded to down to the gray, some I went down to the wood color. It just depends on what you are looking for. Just take your time and have some fun with it. You can always paint back over a spot you don’t like.


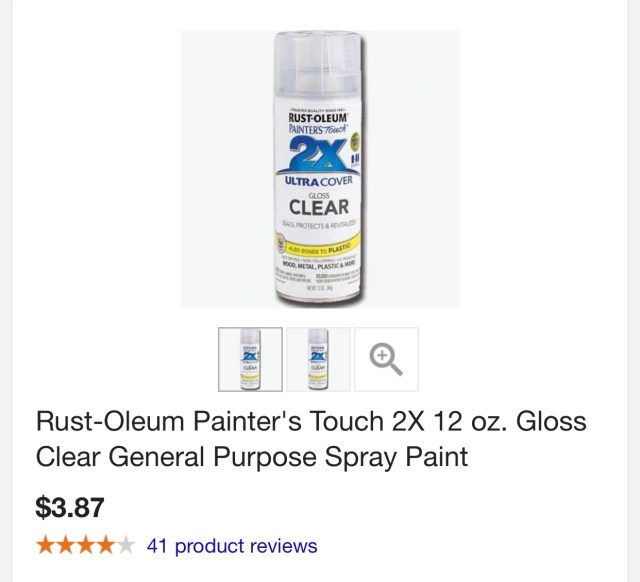
For the final step, I opted for a clear coat instead of wax. Rustoleum clear gloss pictured above and below.That’s how much I love it ! I used clear over wax because I know my table will be taking a beating. Also, it’s going to be exposed to hot plates, water spills, and cleaning products. I used a “gloss” finish because I love the “polished” rustic look. If you want more of a farm table or country feel, go for a matte finish clear coat.

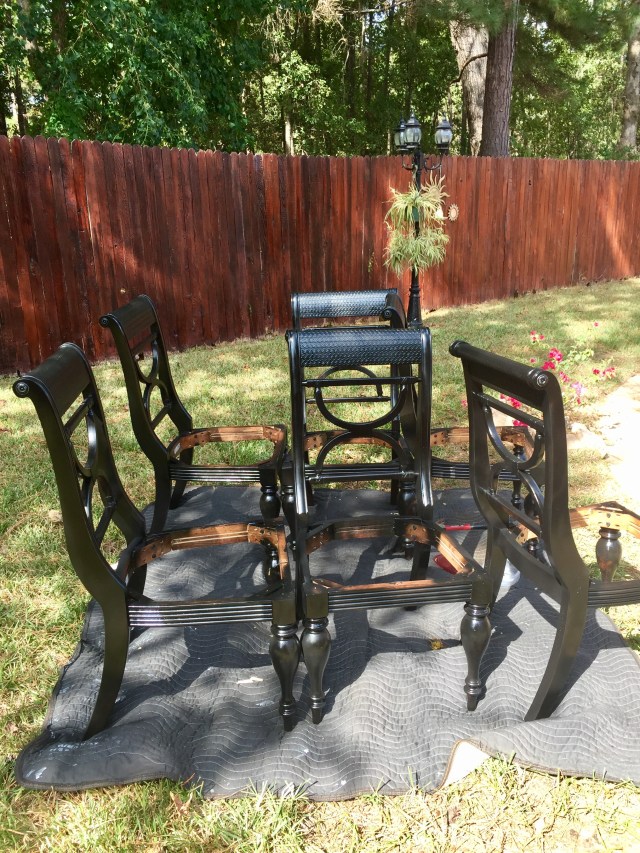
The chairs were much easier. After removing the chair pads, I very quickly scuff sanded these bad boys. Only really worrying about the smooth surfaces. I also skipped the primer. Why? Because I spray painted the chairs for the most part. Don’t ask me why, but spray paint doesn’t seem to chip as easily as canned paint. I did have to paint some parts of the chair by hand. I used my regular Rustoleum “go to” paints. I have total faith in these guys.


2-3 coats covered the chairs completely. Same distressing process followed for the chairs. Another cheat here is I used spray clear.(below) I was not as worried about the chairs because they won’t take as much punishment.
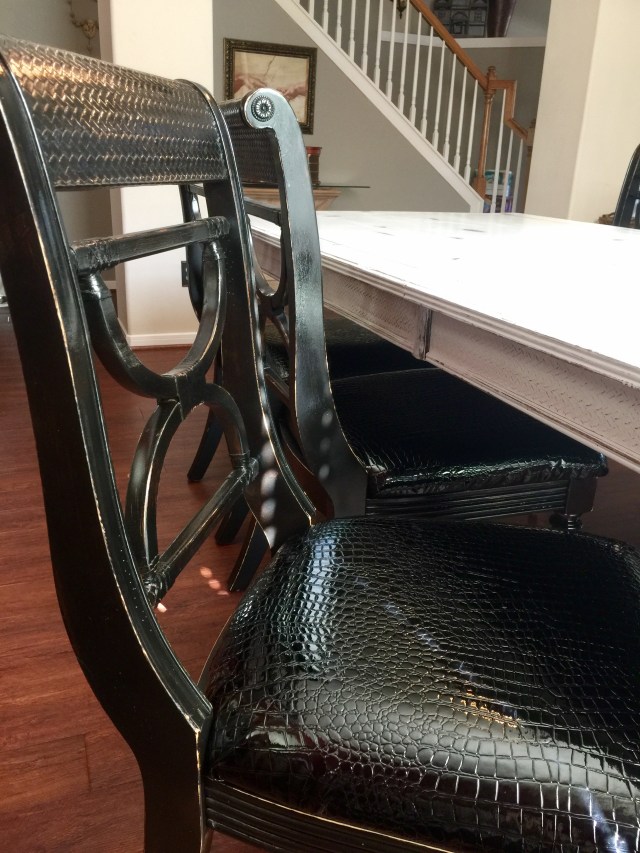
 The chair pads were re-upholstered by my husband and I. Just a Home Depot staple gun and a bottle of wine. If I would have chosen an easier material to stretch and pull, this would have been a super easy gig. I needed this black gator though, it’s my soul. The set was looking very rustic and I had to offset that with some glam. It’s also easy to just wipe off when accidents happen. Let’s be clear, we have a lot of accidents here. Not the easiest to work with, but I’m in love with the finished product.


So the focal point of the dining room is done. Everything else is being evaluated and probably replaced, because I’m a psycho. As you can see, the matching buffet is still original. It’s next on the list! So is my husband’s basic looking bar. However, my furniture shop is closed for a couple weeks. I have holiday parties to attend, and you know, I can’t be ruining my nails.
If you guys have any questions about this process, just ask.

